The pitaya, pitahaya or dragon fruit, is a fruit of the Cactaceae family that has become very popular in recent years for food consumption. There are several varieties of pitaya: Hylocereus megalanthus, Hylocereus undatus, Hylocereus costaricensis, Hylocereus polyrhizus, Hylocereus monacanthus, Hylocereus triangularis, etc. Its fruit is of a striking pink or yellow color, with white, yellow or pink pulp and, although the plant has its origin in America, it is currently cultivated in other parts of the world.
If you want to learn how to plant pitaya and its cultivation, join us in this ClevHacks article, in which we will teach you how to do it step by step.
How to plant pitaya
It is possible to plant the pitaya both from its seeds and by cuttings. However, the first option is much slower, and it could take up to several years for your plant to start bearing fruit. Here we will explain the cultivation of pitaya by cuttings, as it is much faster. Pitaya seeds are particularly delicate or difficult to grow, so it is a matter of time in any case.
- Choose an area of soil outdoors with enough space or a pot that is at least 10 inches deep and drainage holes in the bottom. If you are planting outdoors, find an area that receives sunlight for at least a few hours of the day. If the winters in your area are harsh, it is better that you opt for having it indoors, since severe frosts will damage the plant and can kill it.
- Use soil or substrate for cacti, which is somewhat sandy and has very good drainage.
- Get a cutting that is at least 2 years old and leave it in the shade for about 5 days before planting.
- After that time, transplant the cutting to a pot with the characteristics described above, in a sunny area and watering the plant like the tropical cactus that it is: only when the substrate is visibly dry.
- You can help yourself with fertilizers for cacti at the time of transplanting and a couple of times a month in the hot season.
- Four months later, your pitaya plant should be ready to transplant to its final location, either outdoors or a larger pot.
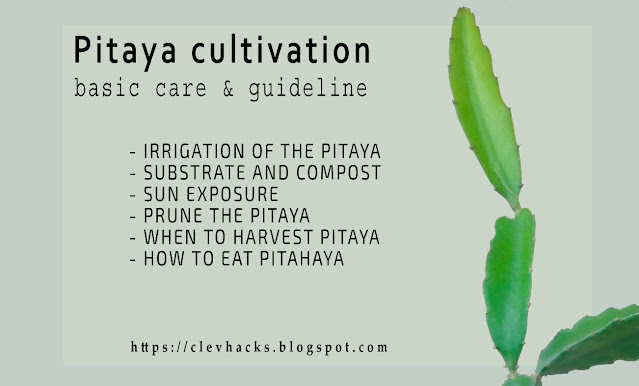
Pitaya cultivation - basic care & guideline
These are the care of the pitaya so that its cultivation is successful, grows healthy and bears fruit:
Irrigation of the pitaya
As a tropical cactus, one of the greatest dangers of this plant is excess humidity. It's easy to be tempted to water too much to speed growth, but doing so will only lead to disease and deterioration. Water it only when its substrate is dry.
Substrate and compost
Use soil or substrate for succulents and fertilize it with specialized fertilizer once a month or every 15 days in the spring and summer months. We recommend using natural compost for cacti.
Sun exposure
This plant needs a lot of sunlight, so unless you live in an area where the sun is exceptionally strong, plant it where it receives the most light throughout the day.
Prune the pitaya
Finally, this plant should be pruned shortly after transplanting the cutting to maintain adequate structure and fruit production. The most common thing in it is to eliminate all the shoots except one or two pods at the end and, from the third year of life of the plant, production pruning is practiced in which all the pods that do not fructify are removed.
When to harvest pitaya
This plant produces its fruits in a staggered manner in the period from autumn to early spring. You should pick them when they look ripe, bright in color, and completely pink, red, or yellow, depending on the variety you grow, except for the tips in the red pitaya variety. If you're not sure, wait to pick them up four days after they've changed color.
How to eat pitahaya
These fruits, with a sweet taste and very low calorie content, have become popular all over the world both for their pleasant color and flavor and for their almost zero contribution of carbohydrates.
Eating them is very easy, it is a bit like the process of eating a kiwi: it is enough to cut the fruit to expose the pulp and it can be eaten by bites or with the help of a small spoon. The seeds can be consumed without any problem and, in fact, the most common is to do so, since removing them is cumbersome and unnecessary and, what is more, they also provide beneficial nutrients. There are also many who choose to cut the fruit into slices or quarters and remove the skin to use it in dishes, both in desserts and breakfasts and in main dishes.


